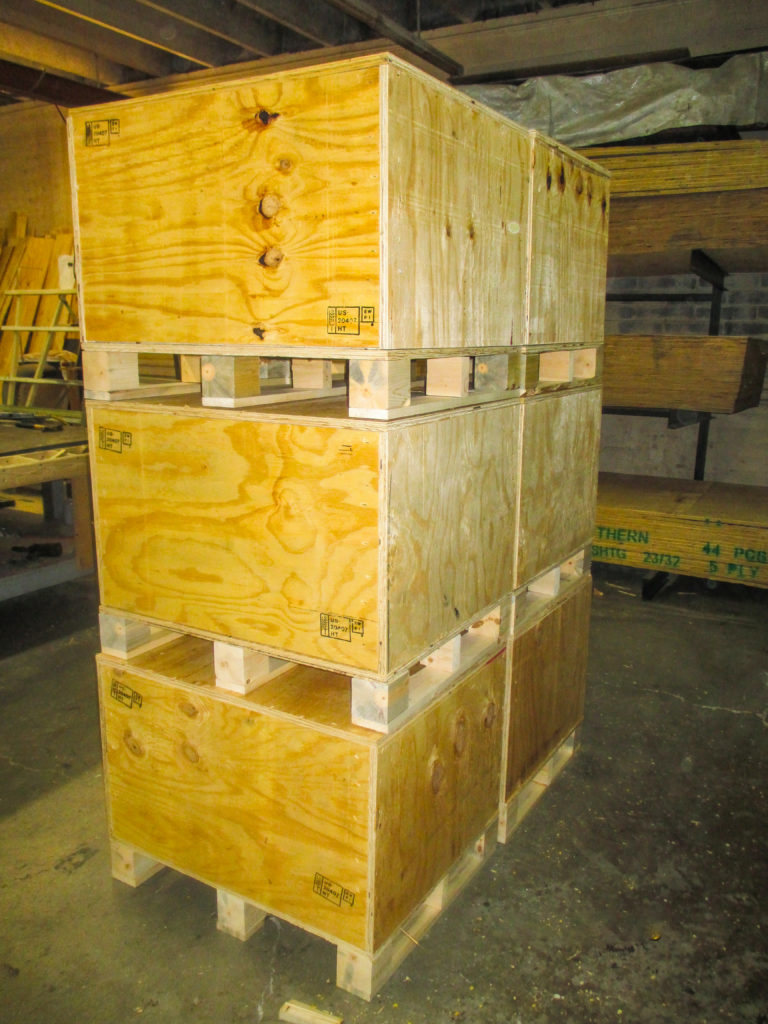
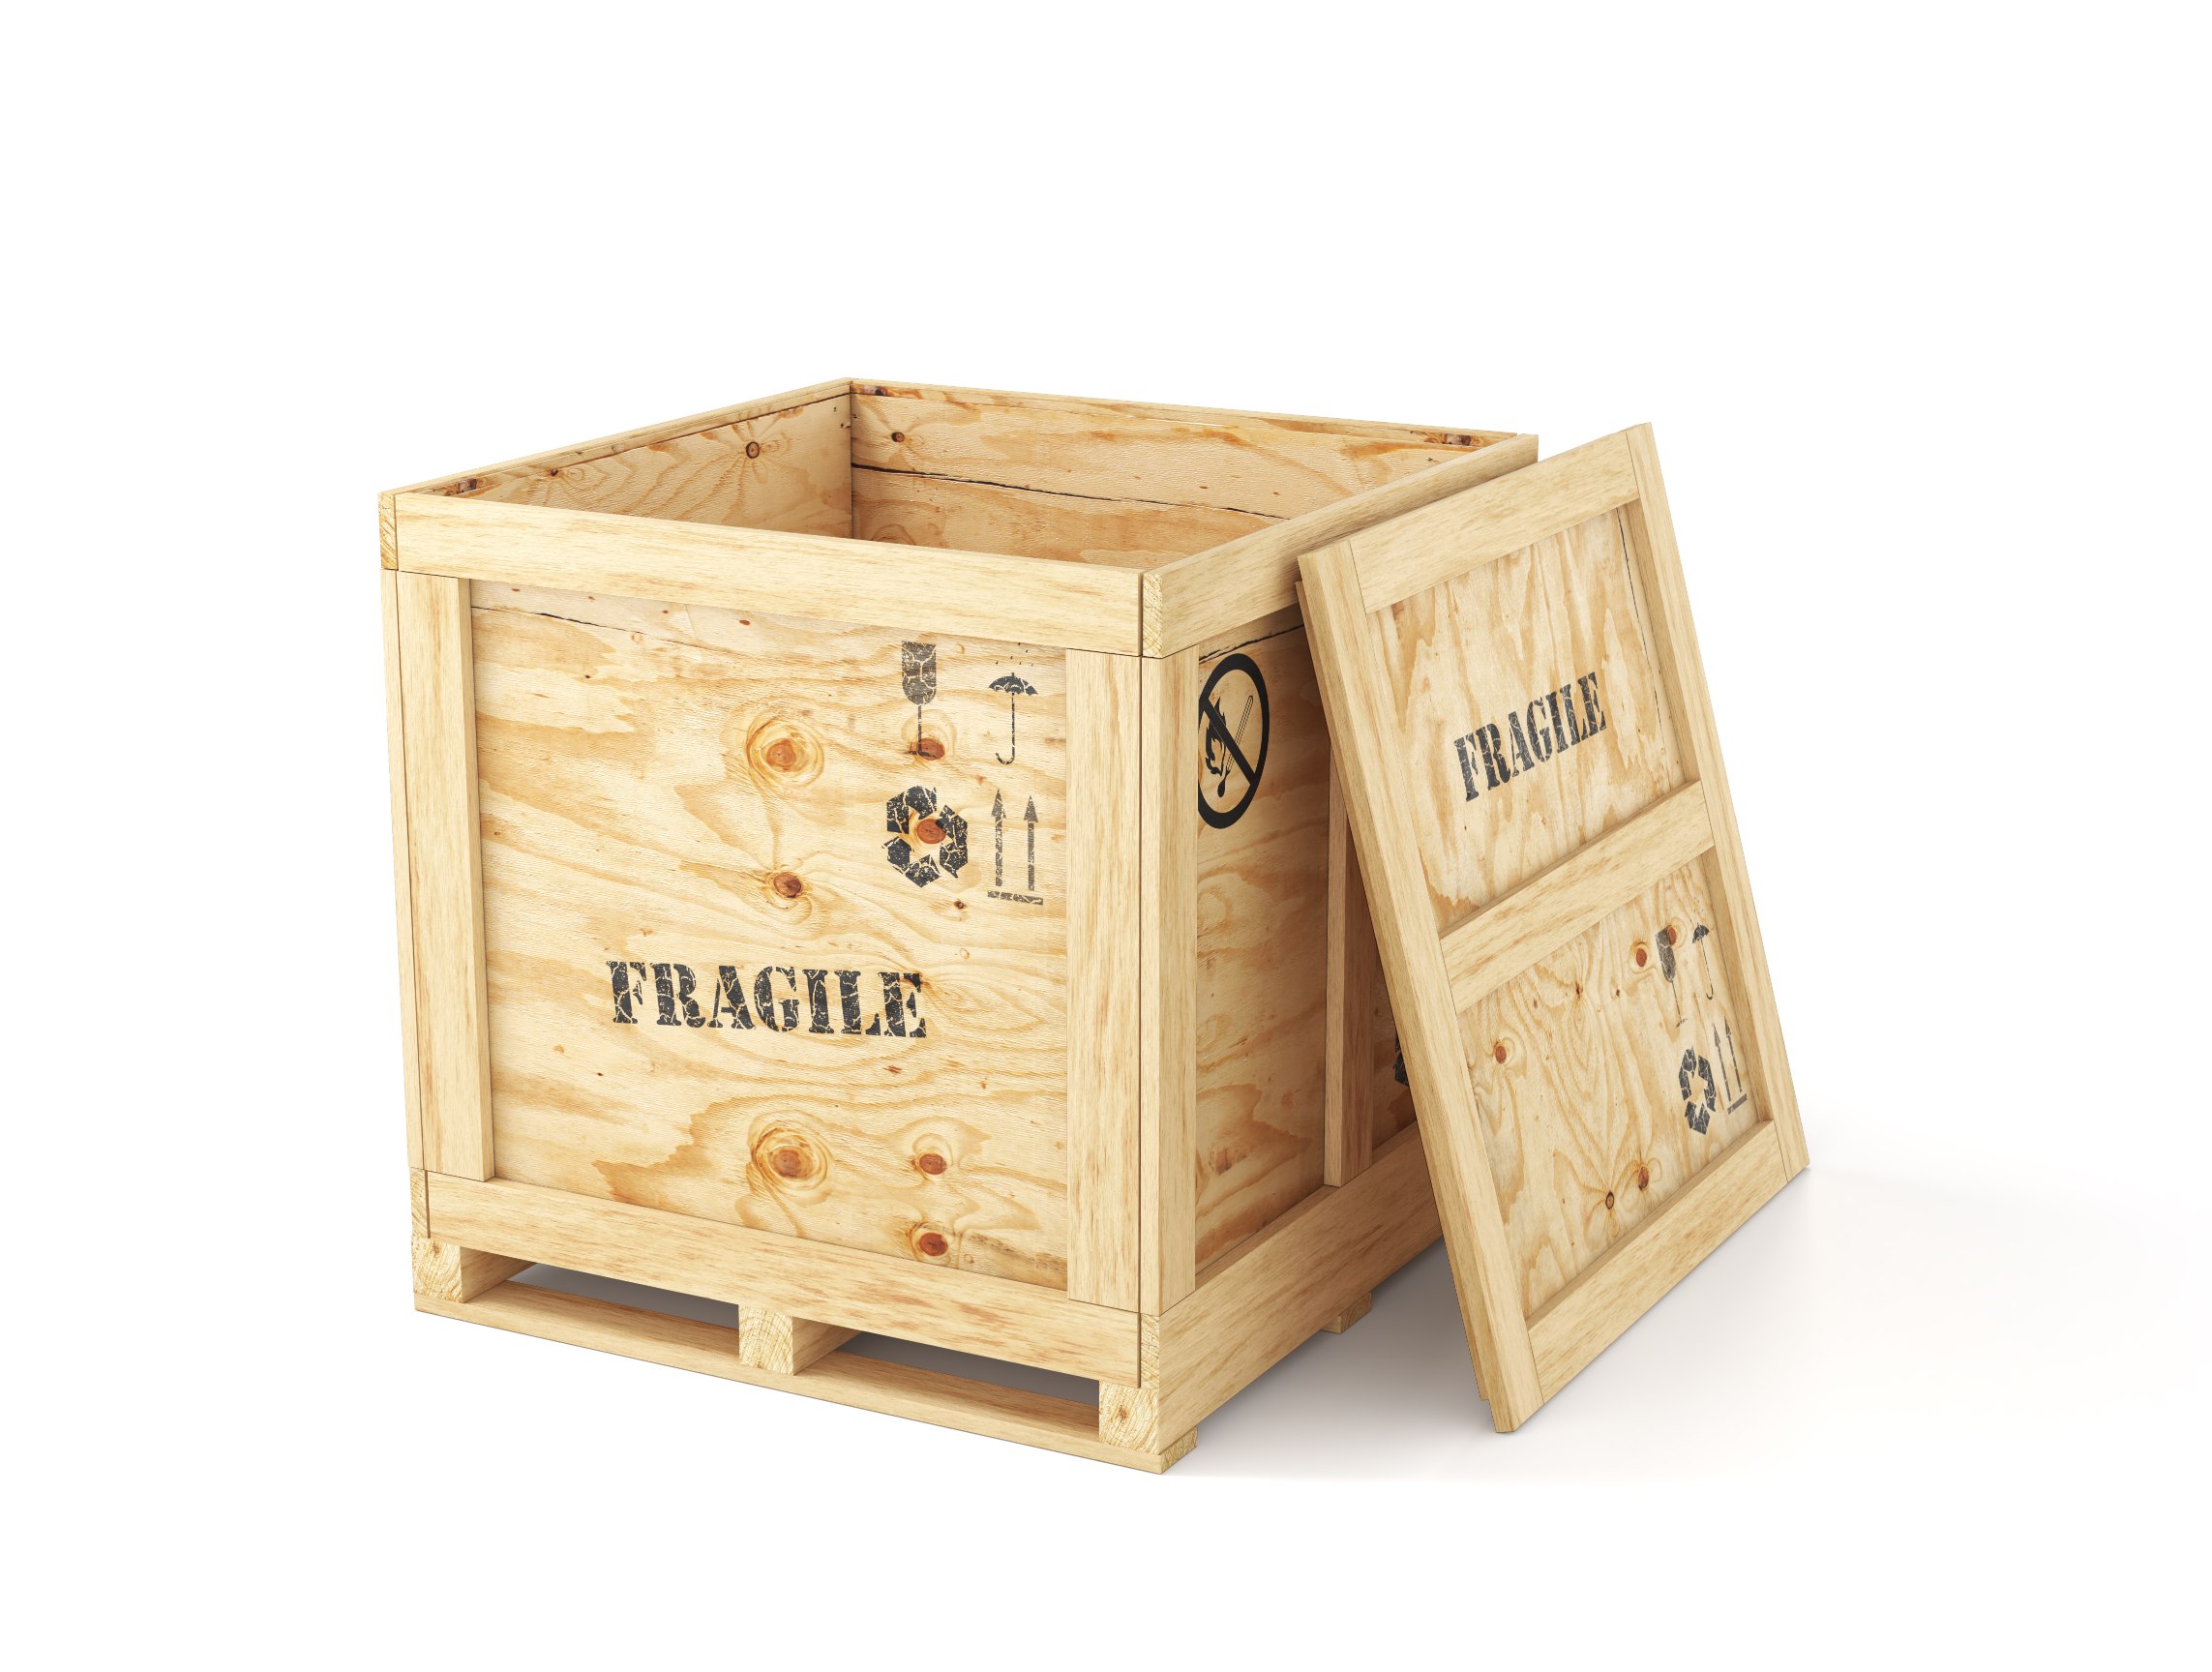
Shipping fragile or valuable items requires proper packaging to make sure they arrive safely at their destination. One of the most secure ways to package such items is by building a wooden crate. In this article, we’ll provide a step-by-step guide on how to build a sturdy and reliable crate for shipping. Whether you’re sending art, antiques, electronics, or any other delicate items, following these instructions will help protect your valuables during transit.
Materials and Tools You’ll Need:
Before we dive into the steps, gather the necessary materials and tools:
Materials:
- Plywood or wooden boards
- Wooden slats
- Wood screws
- Wood glue
- L-brackets
- Hinges
- Nails
- Foam padding
- Cardboard or corrugated plastic sheets
- Hammer
- Screwdriver
- Measuring tape
- Saw
- Pencil
How to Build a Crate for Shipping
Step 1: Measure and Plan
Start by measuring the dimensions of the item you plan to ship. It will determine the size of your crate. Add a few inches to each dimension to allow for padding and an extra buffer.
Step 2: Cut the Plywood
Use your saw to cut the plywood or wooden boards into panels for the top, bottom, and sides of the crate. These panels will form the basic structure of the crate.
Step 3: Assemble the Crate Base
Lay out the bottom panel and attach wooden slats along the edges. These slats will provide additional support for your item. Use wood glue and screws to affix them in place.
Step 4: Build the Crate Walls
Now, assemble the four walls of the crate using the remaining plywood panels. Attach them to the base you created in the previous step, forming a box-like structure.
Step 5: Add Foam Padding
Line the interior of the crate with foam padding to cushion your item. Make sure to provide ample padding on all sides.

Step 6: Secure the Item
Place your item inside the crate and ensure it fits snugly within the foam padding. You can use straps or additional padding to keep it in place and prevent movement during transit.
Step 7: Close the Crate
Attach the top panel to the crate using hinges. It will allow you to effortlessly access the contents when needed. You can add L-brackets for extra security.
Step 8: Reinforce the Crate
To ensure the crate remains intact during shipping, reinforce the corners and edges with L-brackets and screws. Make sure it’s solid and sturdy.
Step 9: Label the Crate
Clearly label the crate with information such as “Fragile,” “This Side Up,” and any handling instructions. Attach a shipping label with the destination address and contact details.
Step 10: Final Inspection
Before shipping, give the crate a thorough inspection to make sure it’s properly secured and well-padded.
Conclusion:
Building a crate for shipping is a practical and cost-effective way to protect your valuable or fragile items during transit. With the right materials, tools, and a little know-how, you can create a custom crate that ensures your items arrive safely and intact at their destination. Always follow any shipping regulations or guidelines provided by your chosen carrier for a worry-free shipping experience.


